
Front Drive 250W Conversion Kit Installation Guide for Beginners
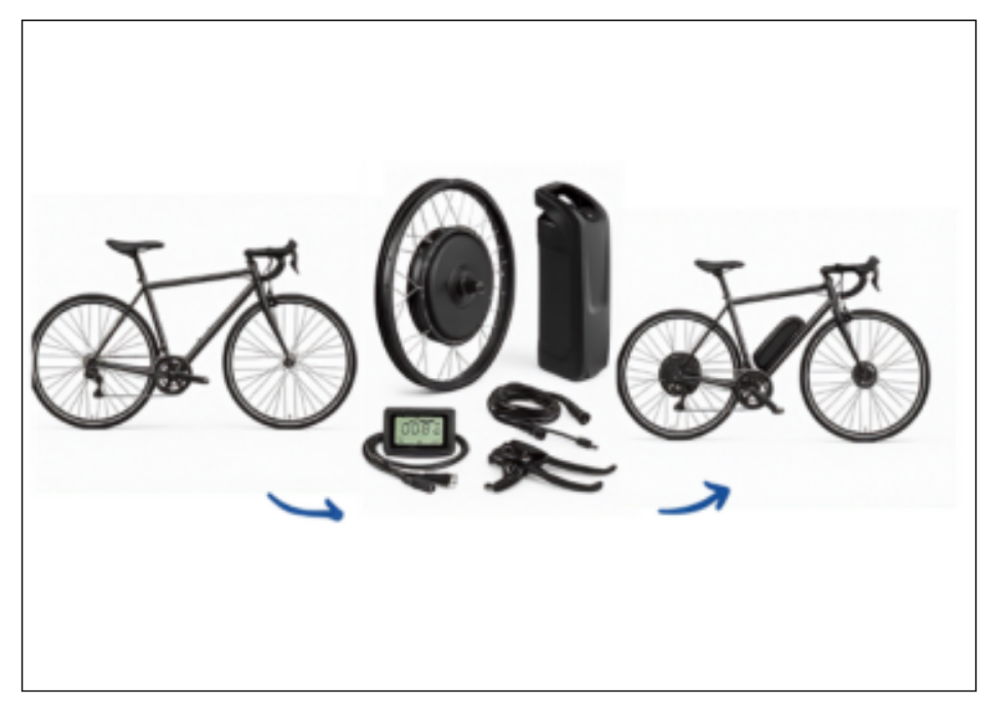
So, you've decided to turn your regular bike into an e-bike. Good move. A front-wheel e-bike conversion kit is one of the simplest ways to add a bit of power to your ride without splashing out on a brand new bike. Cyclotricity's Front Drive 250W kit is built with beginners in mind, so there's no soldering, no fancy tools, and definitely no need to call an electrician. Just set aside an afternoon and you're sorted.
This guide takes you through everything, step by step: what to check before you buy, what comes in the box, and how to actually fit it. No confusing terms, no assuming you already know how bikes work. So even if the only bike repair you've ever done is fixing a puncture, you'll still be able to follow along easily.
By the end, you'll know exactly what to expect before you even open the box, which makes the actual fitting feel a lot simpler.
Why Choose a Front Wheel Conversion Kit?
There are a few ways to electrify a bike: mid-drive, rear-drive, and front-drive. For a first-timer, an e-bike conversion kit’s front wheel is usually the easiest place to start. Here's why:
- Your gears stay untouched. The motor sits in the front hub, so your chain, gears, and cassette don't need to be touched at all.
- It's basically just a wheel swap. The motor comes already built into the wheel, so you're mostly just fitting it where your old wheel used to be.
- Works with any brakes. Disc or V-brakes, it doesn't matter; no adapters are needed either way.
- Doesn't feel heavy or bulky. A 250W hub is small and light, so the front of your bike still feels like your bike.
Looking for a 250W e-bike conversion kit that's road legal across the UK and EU (capped at 15.5mph) and easy for beginners to install? The Front Drive 250W Kit is a great place to start. If you're still deciding which system is right for your bike, browse our full range of e-bike conversion kits to compare the features and benefits of our front-drive, mid-drive, and rear-drive options.
What's Inside the Front Drive 250W Kit
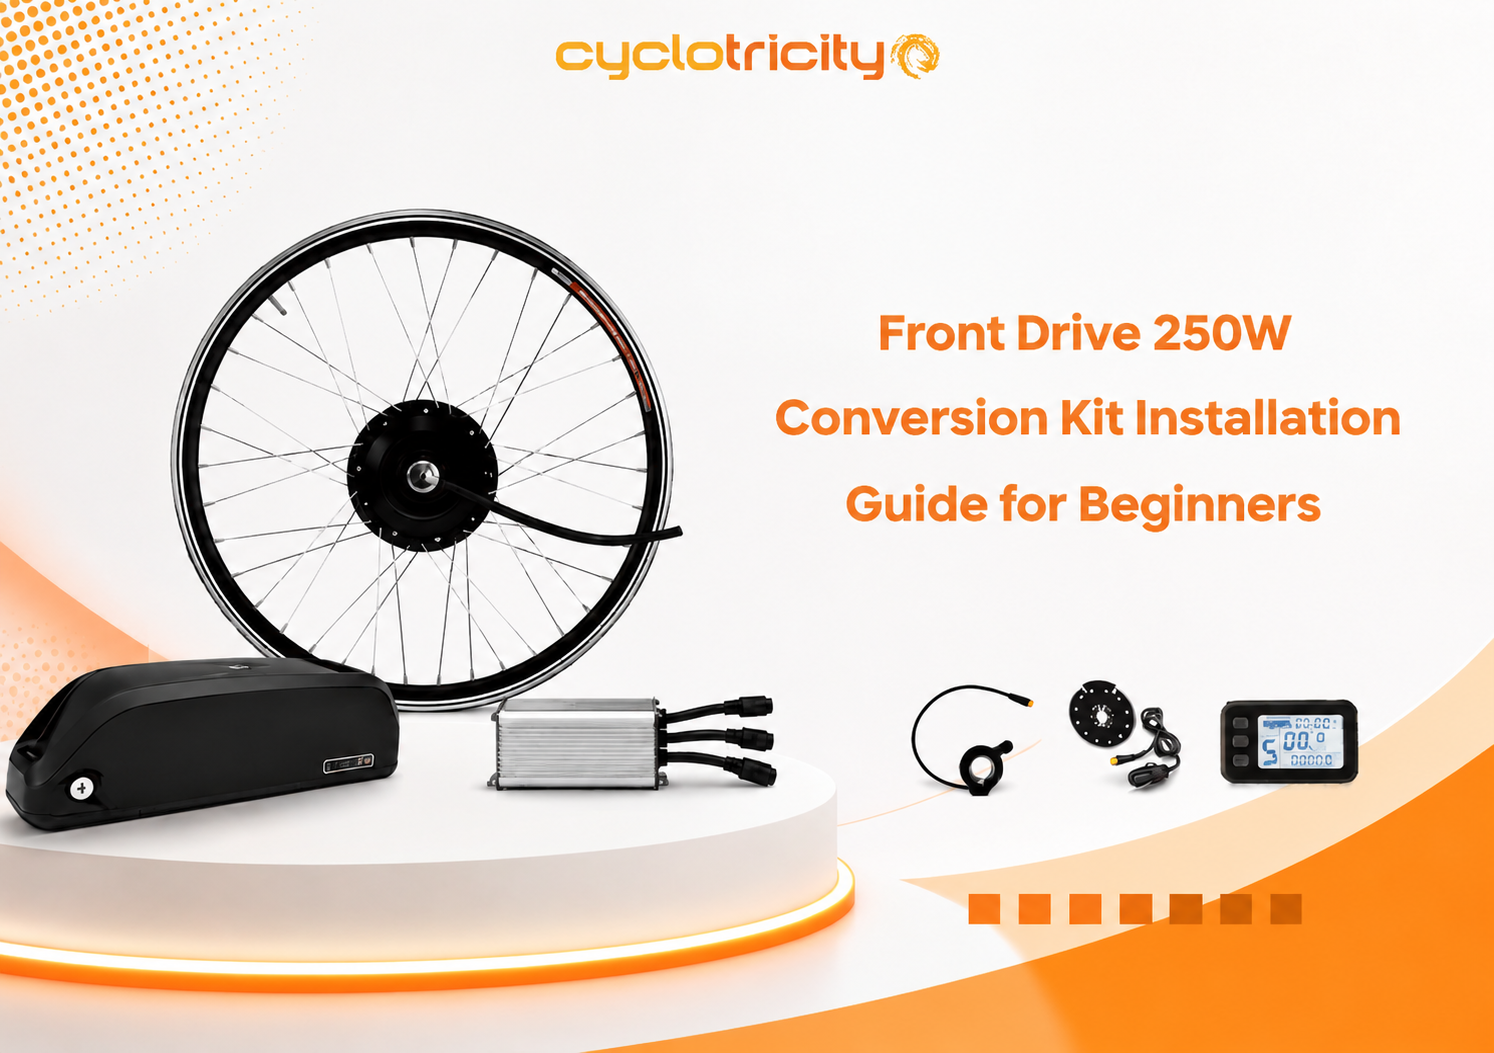
Before you get started, it's worth knowing what you're working with. Every front drive 250W kit comes with:
- A 250W brushless geared hub motor, already built into your chosen wheel size (20", 26", 27.5", or 700c/28"/29er)
- A cadence-based PAS (Pedal Assist Sensor) that clips around your bottom bracket
- A 3-level backlit LED display for your handlebars
- A 14A weatherproof controller
- Colour-coded, plug-and-play wiring — every connector only fits one way, so you can't get it wrong
- Your choice of battery: a rear rack battery (pannier rack included) or a frame-mounted downtube battery
- An optional throttle, if you'd rather have power on demand rather than relying on pedal assist alone
Everything's colour-coded and pre-built, so there's no wiring knowledge needed. You're really just bolting parts on and clicking connectors together.
Step 1: Check Your Bike Will Fit the Kit
This is the bit beginners are tempted to skip. Don't. Grab a ruler and check these three things first.
- Fork Dropout Spacing — Turn your bike upside down and measure the gap between the two slots at the bottom of your front fork, where the wheel axle sits. You're after 100mm, which covers most front forks out there.
- Dropout Opening Width — Now look at the slot itself, where the axle actually slides in. The motor axle is 10mm. Most forks are already this size. If yours comes out at 9mm and your forks are steel (a magnet will stick to steel, so give that a try), you can file each side down by 0.5mm, a five-minute job. If your forks are aluminium or carbon, leave the filing to a bike shop.
- Bottom Bracket Type — The PAS sensor needs a square taper bottom bracket with at least 5mm of spindle showing. This is the standard type on most everyday bikes. Got a Hollowtech or press-fit bottom bracket instead? No bother; you can either skip the PAS and fit the optional throttle instead or have a bike shop swap in a square-taper BB for you.
Step 2: Choose Your Wheel Size and Battery
Pick the wheel size that matches your bike (20", 26", 27.5", or 700c/28"/29er), then choose between the following:
- Rear rack battery — clips onto a lockable rack (included free), takes about 4 hours to charge, and gives up to 35 miles per charge.
- Frame-mounted battery — sits flush against your downtube, keeps the weight low, and gives up to 65 miles per charge.
Still on the fence about whether front-drive is the right choice for you? Our Beginner's Guide to Choosing the Perfect E-Bike Conversion Kit breaks down how front-drive, mid-drive, and rear-drive kits stack up against each other, so you can double check you've picked the right one before you go any further.
Step 3: Take Off Your Old Front Wheel
Remove your existing front wheel just like you would to fix a puncture, release the brake if you need to, undo the axle nuts or quick-release, and lift the wheel out.
Step 4: Fit the New Motorised Wheel
Slide the new wheel into the fork dropouts, making sure the motor cable sits on the correct side (usually away from the disc rotor, if you've got one). Tighten the axle nuts properly; this wheel's doing more work than a standard one, so make sure it's seated well and torqued down.
Got disc brakes? Refit the rotor and caliper as normal. Using V-brakes? Simply reconnect the brake arms.
Step 5: Fit the Pedal Assist Sensor (PAS)
The Pedal Assist Sensor (PAS) is only compatible with square taper bottom brackets that have an exposed spindle. Before fitting the PAS, make sure your bike meets these requirements. If not, the bottom bracket will need to be replaced, or you can continue using the kit without the PAS.
Separate the magnetic disc and fit it around the bottom bracket spindle. Secure the sensor to the bike frame using the supplied zip ties, positioning it as close to the magnetic disc as possible without making contact. Once fitted, rotate the pedals by hand to ensure the disc spins freely and passes the sensor correctly.
Step 6: Mount the Controller, Battery, and Display
- Fit the controller; if you've gone for a frame battery, it comes with its own controller bag; if you've gone for a rack battery, the controller's already built into the housing.
- Mount your battery (rack or frame) and make sure it clicks in properly.
- Fit the LED display to your handlebars somewhere you can see it easily while riding.
Step 7: Wire It All Up
This is the bit most beginners worry about, and honestly, it's the easiest step of the lot. Every cable is colour-coded and shaped so it only plugs in one way; there's no chance of getting it wrong. Just match the colours and click each connector into place: motor to controller, controller to battery, controller to display, controller to PAS sensor, and throttle too, if you've added one.
Step 8: Give It a Test Before You Ride
Before heading out for your first spin:
- Switch on the display and check it powers up.
- Pedal gently and check the PAS kicks the motor in.
- Test the throttle, if you've fitted one.
- Check both brakes are working properly, especially if you took off and refitted a disc calliper.
- Give every connector a gentle tug to make sure nothing's come loose.
Step 9: Off You Go
That's it, really. Most people get the whole thing done in about two hours. Cyclotricity's full installation guide (PDF) walks through every connection in a bit more detail if you fancy a visual guide alongside this one. If you do get stuck, the support and FAQs page covers the most common questions, and the UK-based support team is on hand if you need a hand. A Few Tips for Beginners:
- Don't skip the compatibility check. Five minutes with a ruler now saves you sending a kit back later.
- Hang on to your old wheel. Handy as a spare, or if you ever fancy switching back.
- Charge the battery fully before your first ride. So you get a proper feel for your real-world range.
- Try riding without the motor at least once. The hub freewheels with barely any drag, so you can always pedal it like a normal bike if the battery runs out mid-ride.
Why Thousands of Riders Choose Cyclotricity
When you're buying an e-bike conversion kit, you're not just paying for parts, you're paying for quality, reliability, and support that's actually there when you need it. Cyclotricity has helped thousands of UK cyclists convert their bikes with kits that are genuinely easy to fit and built for everyday riding.
Here's why riders keep choosing the Front Drive 250W Kit:
- Designed specifically for commuters and first-time builders
- Starts from just £150
- Lightweight geared hub motor
- Easy DIY installation
- Excellent weight distribution
- Road-legal 250W pedal-assist system
- Complete conversion kit packages
- UK-based customer support
Whether you're cycling to work, exploring your local area, or just want riding to feel a bit easier, the Front Drive 250W kit is an affordable, dependable way to get there. It also comes with a 30-day returns policy and a 12-month warranty covering the motor, controller, display, and battery so you're well looked after long after installation day.
Conclusion
A front-wheel motor is one of the easiest ways into an electric bike. You're not touching your gears, you're not rewiring anything from scratch, and everything's designed to bolt together without needing any specialist know-how. Whether you're after a front-wheel e-bike conversion kit for your daily commute or just want the hills to feel a little less brutal, the Front Drive 250W kit is built to get you riding in an afternoon.
Ready to get started? Check out the Front Drive 250W Conversion Kit and pick the wheel size and battery that suit your bike.
Frequently Asked Questions
Most beginners can complete the installation in around 2 hours, depending on their experience and bike setup. Taking your time and following the installation guide will help ensure everything is fitted correctly.
Yes. The Front Drive 250W kit is specifically designed for first-time builders and commuters. With plug-and-play wiring, pre-built components, and no specialist electrical knowledge required, it's one of the easiest e-bike conversion kits to install.
Yes. Most riders can install the kit at home using basic bicycle tools. The colour-coded connectors and pre-assembled motor wheel make the process straightforward, even if you've never converted a bike before.
The kit is compatible with many hybrid, commuter, trekking, city, and mountain bikes. Before ordering, check your wheel size, fork spacing, and bottom bracket type to ensure compatibility.
The range depends on the battery option you choose, terrain, rider weight, weather conditions, and assistance level. Cyclotricity's battery options can provide up to 65 miles per charge under suitable riding conditions.